How To Start A WordPress Blog On Cloudways

Everyone should have a website…and I do mean everyone.
Anyone who sells on the internet should have a website. Every Amazon seller should have a website. Even people with a 9-5 or freelancing should have their own website! In today’s day and age, having a piece of the internet to call your own is important. It acts as your own outlet to the world and should be considered part of your resume.
Most platforms that you may be selling goods and services on (such as Amazon) may ask if you have a web presence in your application. Actually having one can drastically improve your chances of getting accepted so today we are going to go over exactly HOW to set everything up for an incredibly low cost.
I decided to write this post using a web host (we will get into what that is a bit later) called Cloudways. I have been through a LOT of web hosts since I started on the internet, and these guys are by far the cheapest and most user friendly for someone who is not the most technical (like myself). Not only does the pricing make sense, but the support and the web speed you can achieve for such a low cost makes it all more than worth it.
Let’s jump into the steps on how to start a blog or your very own website for anything you want. You should be able to get your new site uDomp and running within 10 minutes of following these directions.
Step 1: Get A Domain Name
A domain name is the address to your new website you are going to set up. This is what people will type into the search bar, or see in the search bar when they visit your new website. Amazon.com is a domain name. If you have a brand, you will want to grab that brand’s domain name. Domain names are all about the first impression so make sure it is something memorable and easy to type. I would suggest not going with weird names or anything that could be mistyped by mistake.
I personally register all my domains at Namecheap.com. There are a lot of places to grab domains out there but Namecheap has always had great pricing ($10 a year/they don’t price gauge you on renewals), and they give you privacy protection to your name and details are not shown to the public for free.
Head on over to Namecheap and see what is available.
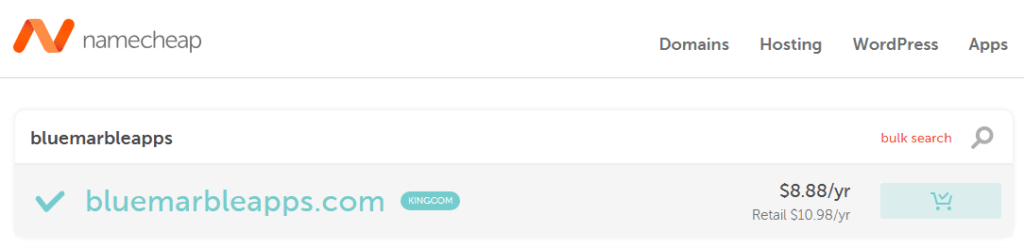
As you can see I picked out a domain name and added it to my cart. I would always recommend that you go with a .com instead of all the other extensions you can get. This will make sure you do not run into a lot of headache with your site’s visitors down the line.
After you add it to your cart, go ahead and check out and pay for the domain.
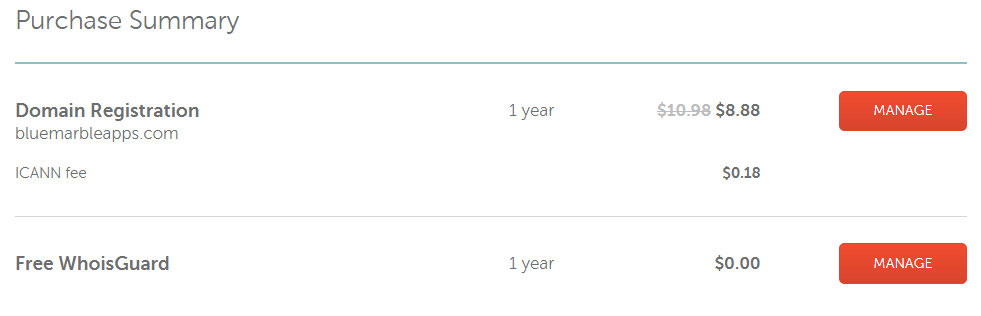
There you have it, you just purchased your first domain name!
Step 2: Grab Web Hosting
The second step to all of this once you have a domain name is to actually get a server where you are going to put all the files (where your website is hosted). For this, we will be using Cloudways like I mentioned at the beginning of the article. A lot of other websites are going to recommend that you go with other sites. This is because they get a very very large affiliate kickback. I am recommending what I personally use because this is important.
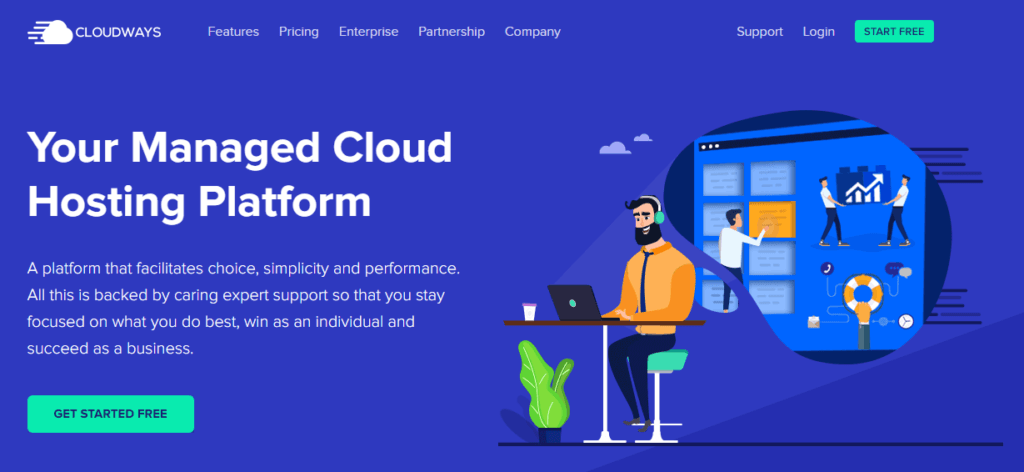
Head on over to Cloudways and click on get started free. Once you have an account, it is time to set up your very first server in the next few minutes!
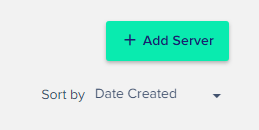
On the right hand side of the page near the top, click on add server.
From here, you are brought to a page to deploy your application.
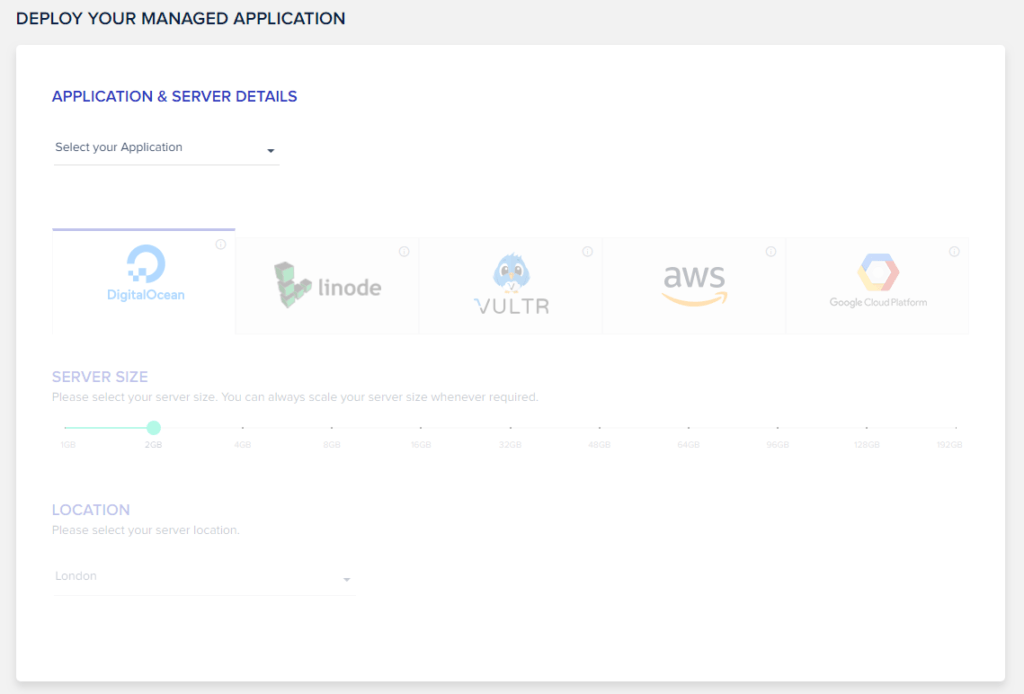
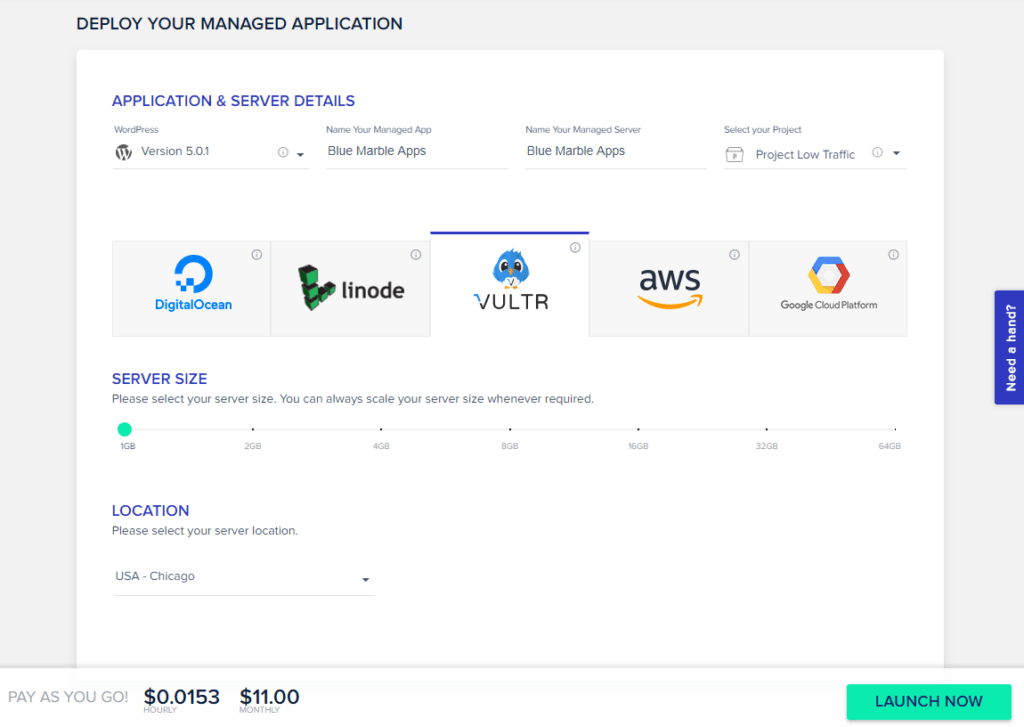
Use the first drop down box to select that you want to install WordPress. This is one of the biggest and easiest to use CMS (content management systems) on the internet and will be pretty painless to learn how to use as you build out your website.
After you have done that, give your project a name, select a server and server size, and then a location.
For the server itself, you have a few options. You can host it on DigitalOcean, linode, VULTR, AWS, or Google Cloud. I personally have found the best money to performance to be VULTR. These servers are really cheap, but are also incredibly fast and I have had zero issues with them so far. You can decide to host your site on any of these as they should all work out!
For server size, since your site isn’t going to receive any traffic right away (because it’s brand new, set the size to the smallest available size. For the location, try and pick something central of where your visitors are going to be from. If most of your website traffic is going to come from the USA, try and pick a place in the middle of the country. This will help with your site loading speed. Now that all the information is filled out, click on launch now. For the options I went with, I will be paying about 1.5 cents an hour, or 11 dollars monthly.
Congrats! You now have a domain name AND a web server set up! All that is left is to actually connect the 2 and build your website.
Step 3: Connect Domain Name and Hosting
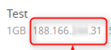
Now we can finally hook everything together. On your main Cloudways dashboard, you now have a server and this server has an IP address. Write this down!
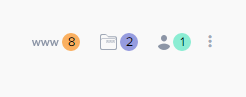
Next, to the right of your server, click on the “www” and select your application (your website). This will bring you to the dashboard that lets you change details about your domain.
On the left hand side of the screen, select domain management. This is where you are going to attach your domain.

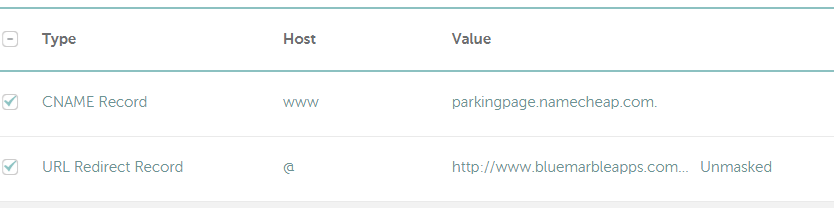
Enter in your primary domain name that you JUST bought at Namecheap. This should be your full domain name. If you want it to include www, put that in. If not, just enter your domain name. From the screenshot below, you can see that I did not enter www.

Click on save changes, and it will add your domain name to your project that you just set up.
Now that you have added that, all you have to do is add some records into Namecheap. Head over to Namecheap and log in. Find your domain and click on manage.

Click on “Advanced DNS” at the top of the page, which will let you add in some information to connect the domain with the web host. There will already be some records below. Click on “Add new Record”.
Select that you want to add an “A Record”. Following A Record, put in an @ in the “host” box if you did NOT enter www in the steps above, or enter in “www” if you DID enter www in the steps above. Finally, put in the IP address of your server on Cloudways. This is the number from your server dashboard that you wrote down.

Click on the green check mark to the right after you have finished entering in your information.
After you have clicked on the green check mark, you will want to delete the other records on Namecheap. Select the checkbox, and delete the others that you did not enter.
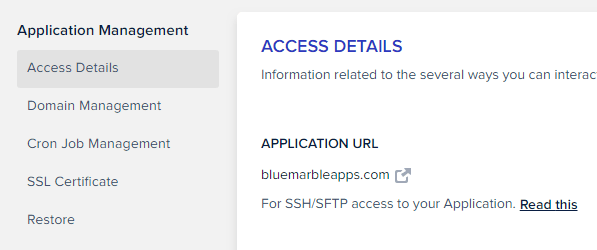
Just like that, you have connected your domain name and your hosting! All you need to do now is go back to Cloudways, click on “access details” under application management, and you can manage your domain name and log into WordPress.
NOTE: You may need to wait for your DNS to propagate before you can access your site. This can take from 30 minutes to a few hours. To check this, you can always use this site: https://dnschecker.org
While you are waiting, lets set up an SSL certificate to make sure everything is secure.
Step 4: Set up SSL Certificate
An SSL certificate basically changes your domain from http://yoursite.com to https://yoursite.com. It adds a layer of protection to your site, and gives it a bit more authority for ranking in Google.
To add one to your site, simply click on SSL Certificate inside of cloudways on your application management page. Add your email address and your domain name, and click on install certificate.
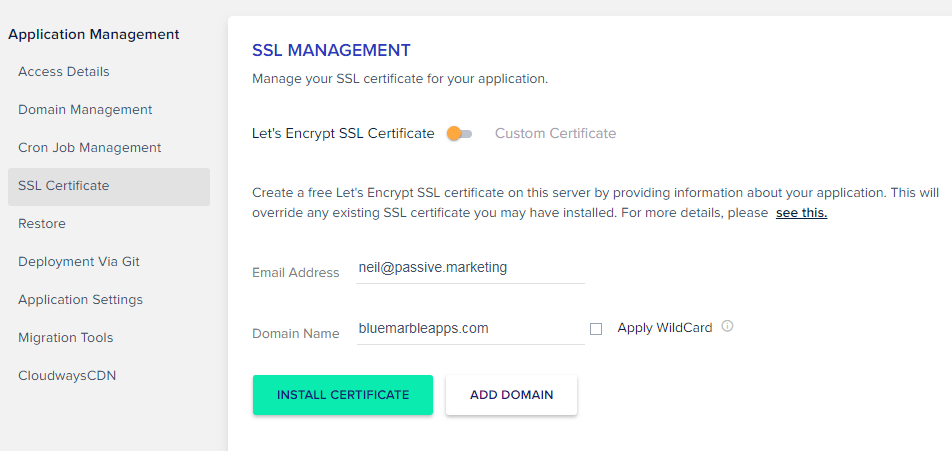
Give it a few minutes to install. Once it is installed, you are done with that step!
Step 5: Set Up WordPress
Once your domain finally propagates, you will be able to log in by going to your access details inside of Cloudways. Simply click on your URL under admin panel, and then enter in your username and password.
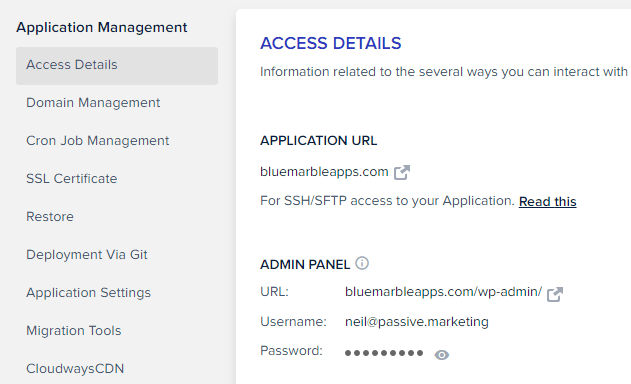
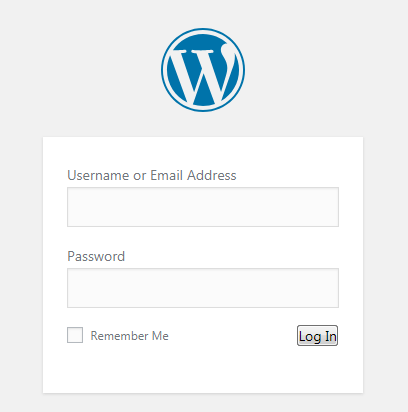
Clicking on the URL will bring you to the login page for your WordPress site!
Once you are logged in, go to “Settings” int he left hand side menu. We need to first switch your site to use the SSL certificate you just installed.
After you click on Settings, add an “s” after “http” in both the WordPress address and site address. It will look like this:
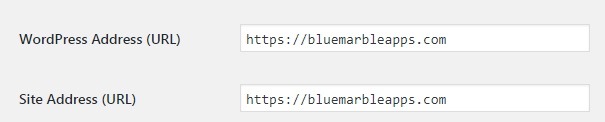
Scroll down to the bottom of the page and click on save. This will force you to re-log in. All this step basically did was make sure that your site loads your SSL certificate for everyone.
Next, go to plugins, and click on add new plugin at the top. Search for “simple ssl” and find this plugin:
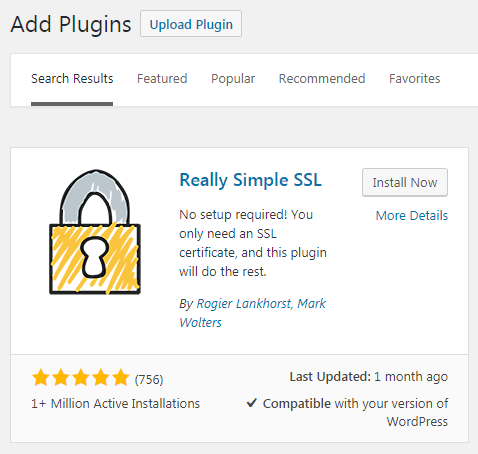
Install and activate the plugin. Then you will see a popup at the top of the page to activate SSL. Click that button and you are all done!
You may also want to install the “classic editor” which will allow you to quickly add posts and pages without learning how to figure out the new WordPress editor. I highly recommend it.
That’s it! You have now successfully set up a brand new site and have a piece of the internet to call your own. From here, you will need to learn the ropes of how to set up WordPress so that it actually looks great to site visitors. Learn how to add pages, posts, and menus.
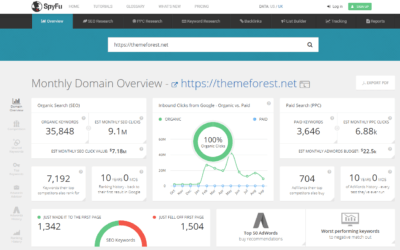
I would also highly recommend you look up themes on Themeforest. These give your site a new look, but will cost money. There are some free themes you can add, but a paid theme is worth it once you get some site visitors.
Wrapping It Up
That about finishes up the process to get your new website or blog up and running. The rest is really not that hard to figure out (how to make changes in WordPress).
We will be going over how to customize some things in a later post, or how to set up an eCommerce store (for using alongside Merch by Amazon).
In the meantime, play around with WordPress, learn what you are doing, and set up your own piece of the internet. Add a page about yourself, what you do, and what you offer the world. Add some blog posts, customize your menus, and just have fun with it. Who knows what it will turn into!